Why a liner goes in
A liner is the pipe or lining inside the chimney that actually carries the exhaust. Older masonry chimneys in the Northeast were often built with clay tile liners, and some with none at all. Over the decades, tiles crack, joints open, and acidic condensation from gas appliances eats at mortar. A new liner restores a sealed, correctly sized path for exhaust.
The most common triggers are a new boiler, furnace or water heater that the old flue does not suit, an oil to gas conversion, a wood stove or insert going into a fireplace, an inspection that finds cracked or missing tile, and a chimney fire that damaged the flue.
Step one: inspection and sizing
Before anything is ordered, the chimney is inspected and measured. The technician records the flue's inside dimensions, its height from the appliance connection to the top, any offsets or bends, and the condition of the masonry around it. Then the liner is sized to the appliance: its fuel, its type (natural draft, fan-assisted, stove, insert or open fireplace), its outlet size and its input rating. The appliance's installation manual and the liner's own sizing tables govern.
Getting the size right is the core of the job. A liner that is too small chokes the appliance. One that is too large lets exhaust slow and cool, which causes condensation in gas flues and creosote in wood flues.
The installation, step by step
A typical stainless steel relining follows the same sequence, though every chimney adds its own details.
- Sweep and clear: the flue is cleaned and loose tile, debris and nests are removed, giving the liner a clear path
- Make room if needed: the damper, smoke shelf or tight spots are opened up, since fireplaces and offsets often block a liner
- Prepare the liner: it is cut to length and wrapped in insulation if specified, which keeps exhaust warm and can provide clearance protection
- Lower it from the roof: the liner is fed down the flue, often with a pulling cone and rope, so the insulation does not tear and the liner does not kink
- Connect the bottom: a tee with a cleanout cap, or a connector, joins the appliance and leaves a sealed, accessible base
- Seal and cap the top: a top plate, storm collar and cap hold the liner and keep rain and animals out
- Test and document: draft and spillage are checked with the appliance running before the crew leaves
Getting past the damper and smoke shelf
Boiler and water heater flues usually run fairly straight from the basement to the roof, and the liner drops down with little fuss. Fireplace flues are harder. The opening narrows at the throat, where the damper sits, and the smoke shelf behind it creates a ledge. For a stove, insert or a relined open fireplace, the liner often cannot pass until the damper plate is removed or the throat is opened up.
Offsets are the other obstacle. Many rowhouse chimneys jog sideways to clear a room or join a neighboring stack, and the liner has to bend through each turn without kinking. That is one reason flexible stainless liners are used far more than rigid ones in older city housing.
Insulation and clearances
Many liners are wrapped in an insulation blanket before installation, or the space around them is filled with an insulating mix. Insulation does two jobs. It keeps the exhaust warmer on its way up, which improves draft and reduces condensation and creosote. And in chimneys where the masonry is too close to wood framing, the liner's listing may rely on insulation to meet its clearance requirements.
Whether insulation is needed depends on the fuel, the appliance, the chimney and the liner manufacturer's listing. Wood stoves and inserts in older chimneys commonly need it. Some gas applications do not.
The bottom connection
At the base, the liner connects to the appliance. For a boiler or water heater, that is usually a tee with a removable cap at the bottom, joined through the thimble to the appliance's connector pipe. The cap lets debris be cleaned out without taking the system apart. For a stove insert, the liner connects directly to the insert's outlet with an adapter. For a freestanding stove, it meets the stovepipe at a thimble or a tee.
The old opening around the connection is sealed so the liner, not the old masonry flue, carries the exhaust.
Connector pipe matters here too. A short, well-supported connector with the right rise toward the chimney helps a natural-draft appliance start drafting quickly. Long, flat or sagging connectors, common where an old boiler was replaced in a new spot, slow the exhaust before it ever reaches the liner.
The top: plate, collar and cap
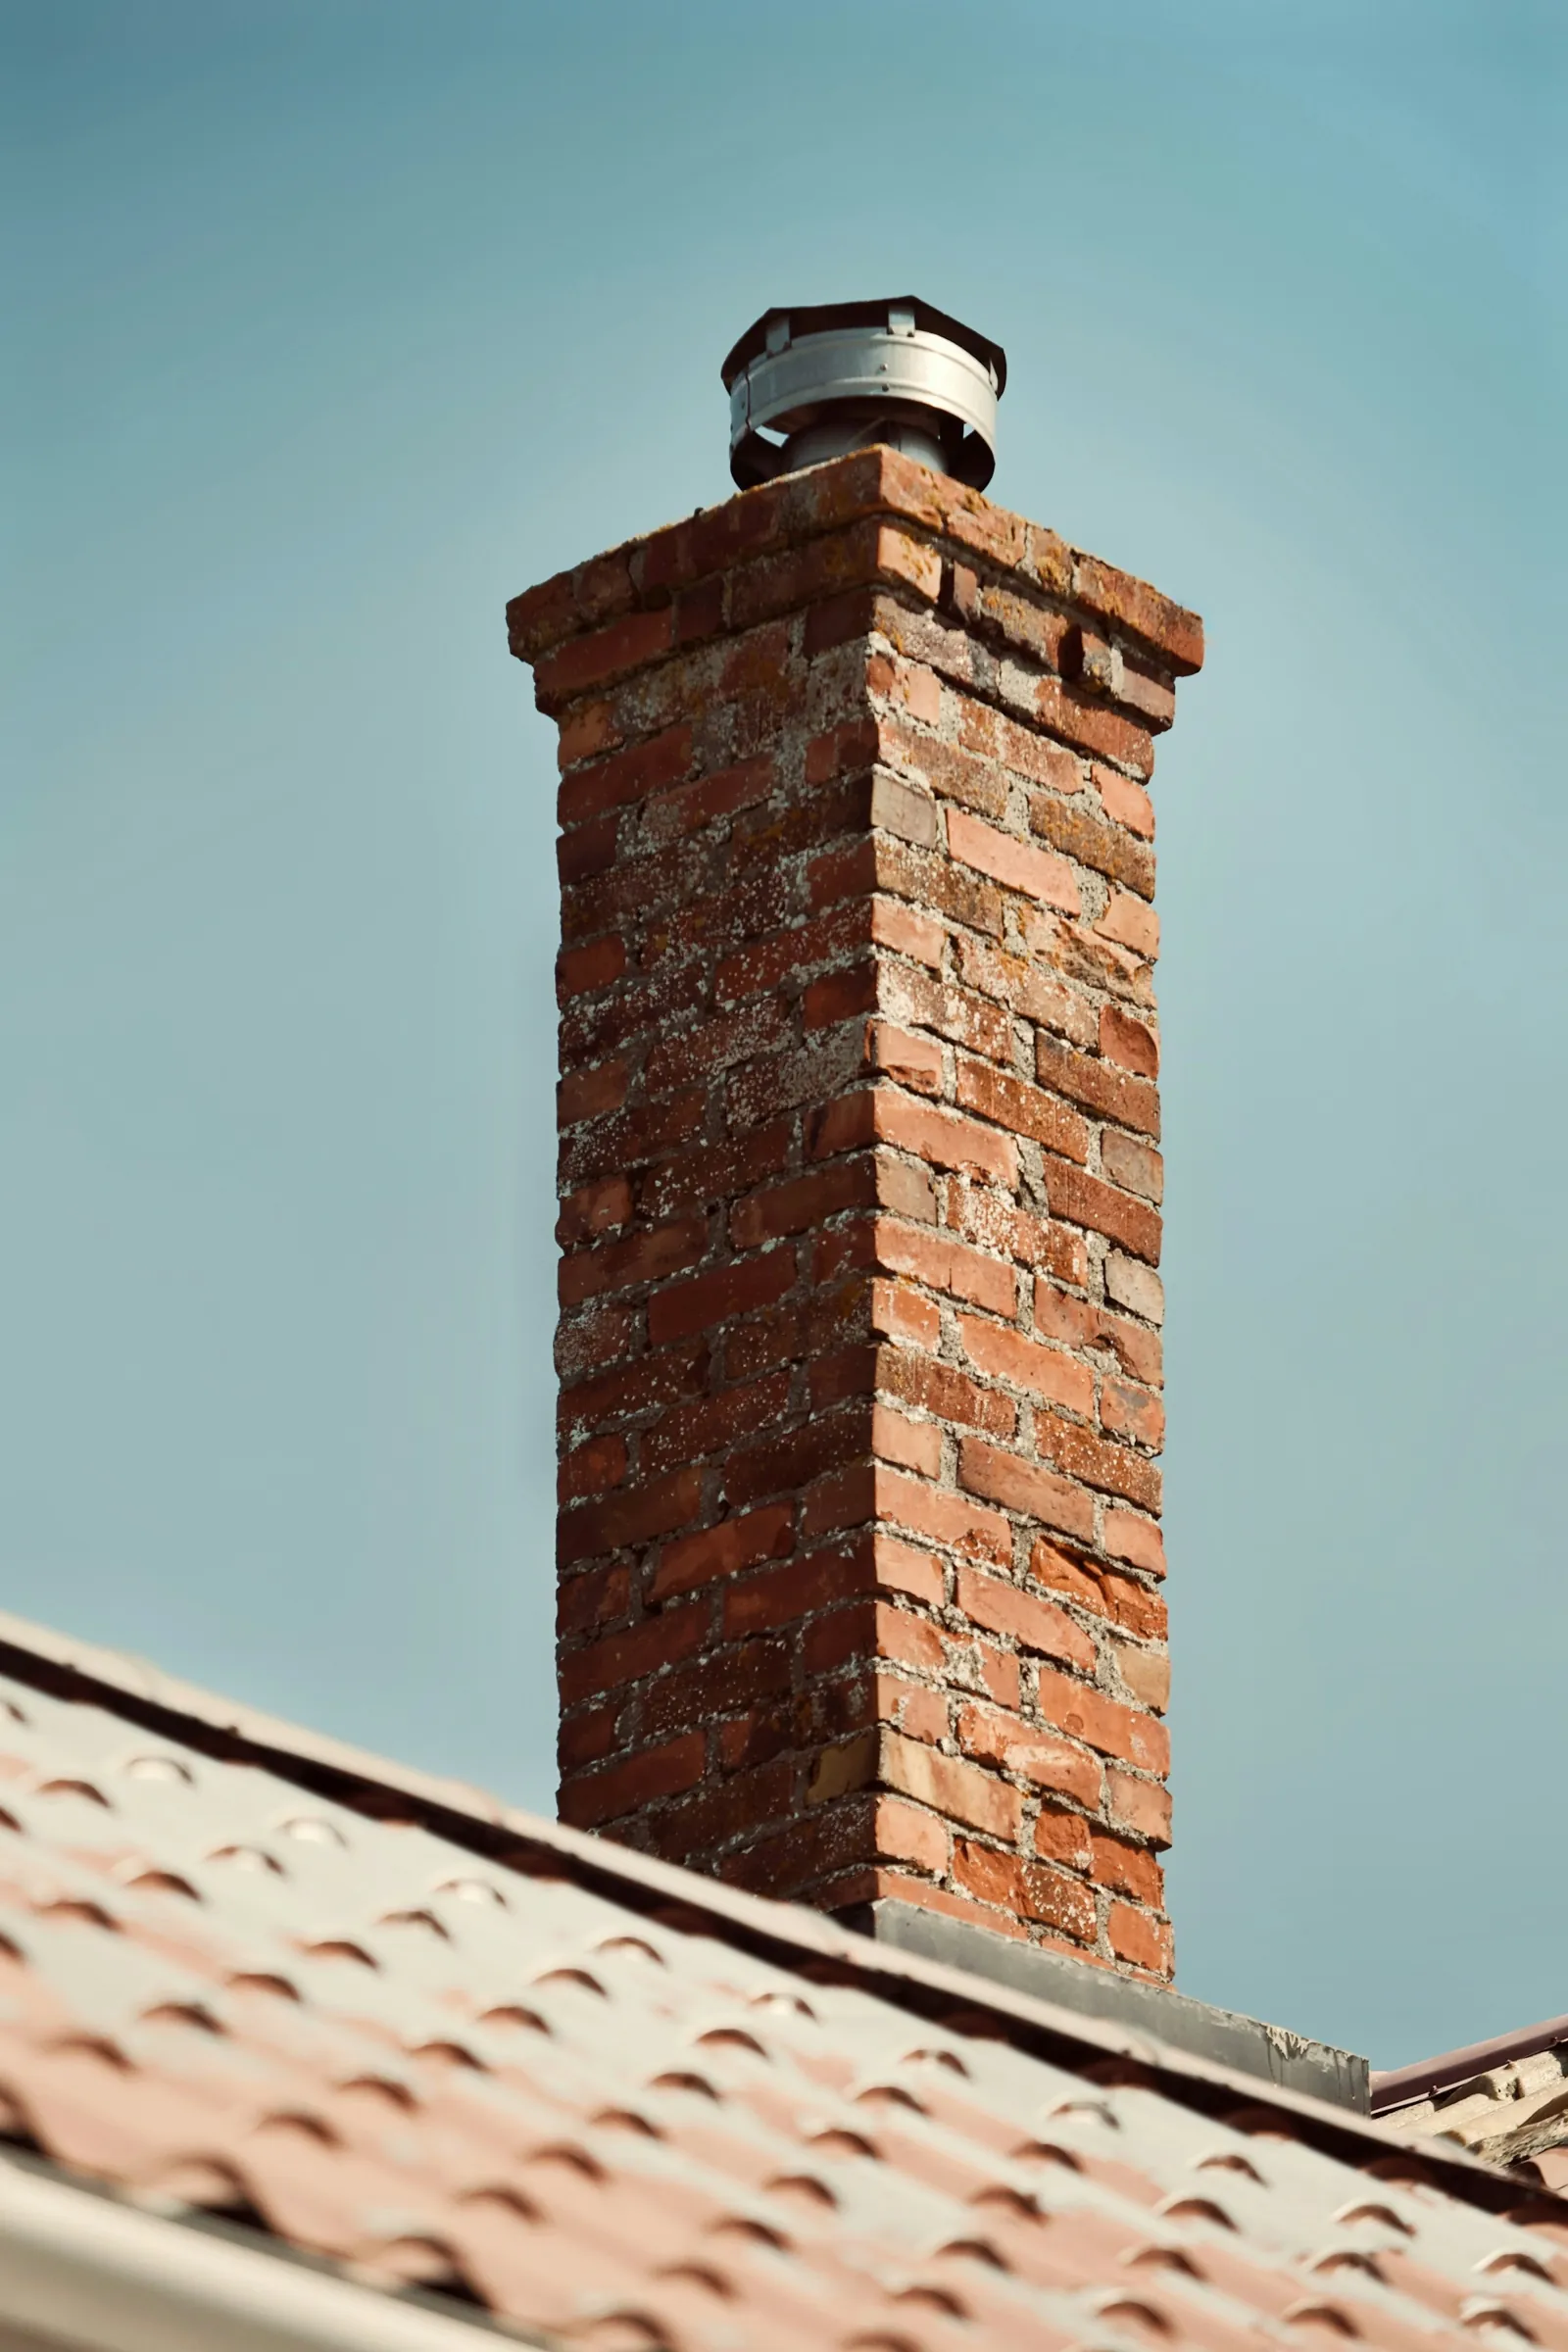
On the roof, the liner is trimmed and a stainless top plate is fitted over the flue tile or crown, closing off the space around the liner. A storm collar clamps the liner to the plate, and a cap goes on top to keep out rain, animals and debris. The crown is checked at the same time; there is little point in a new liner under a crown that lets water into the chimney.
Permits and paperwork
Relining is often tied to a permit, especially when a heating appliance is being replaced. In New Jersey, the state's chimney verification form for replacing fuel-fired equipment says that if a chimney liner is being installed, all documentation on the liner must accompany the permit application, and the form records the liner's manufacturer, model, listing, material and size. Rules elsewhere vary by city and town, so ask who is filing and what is required before the job is scheduled.
Keep the liner documentation with your house records. The next appliance replacement, sale or insurance question will ask for it.
What to expect on the day
A straightforward relining of a single flue is often finished in one visit, with the crew working both on the roof and at the appliance. The heating appliance on that flue will be off for part of the day. Expect drop cloths, a vacuum running at the bottom, and some noise as the liner is lowered. Before leaving, the crew should run the appliance, check that it drafts and does not spill exhaust, and walk you through the finished connection. Our own crews do the inspection, sizing and installation, with a free written estimate before anything is ordered.
Common Questions
How long does it take to install a chimney liner?
Can a chimney liner be installed from the bottom?
Do I need a permit to install a chimney liner?
Is a chimney liner installation diagram the same for every chimney?
Can I install a chimney liner myself?
Need help with this? See our chimney liners service, or call (844) 468-2410 for a free written estimate.