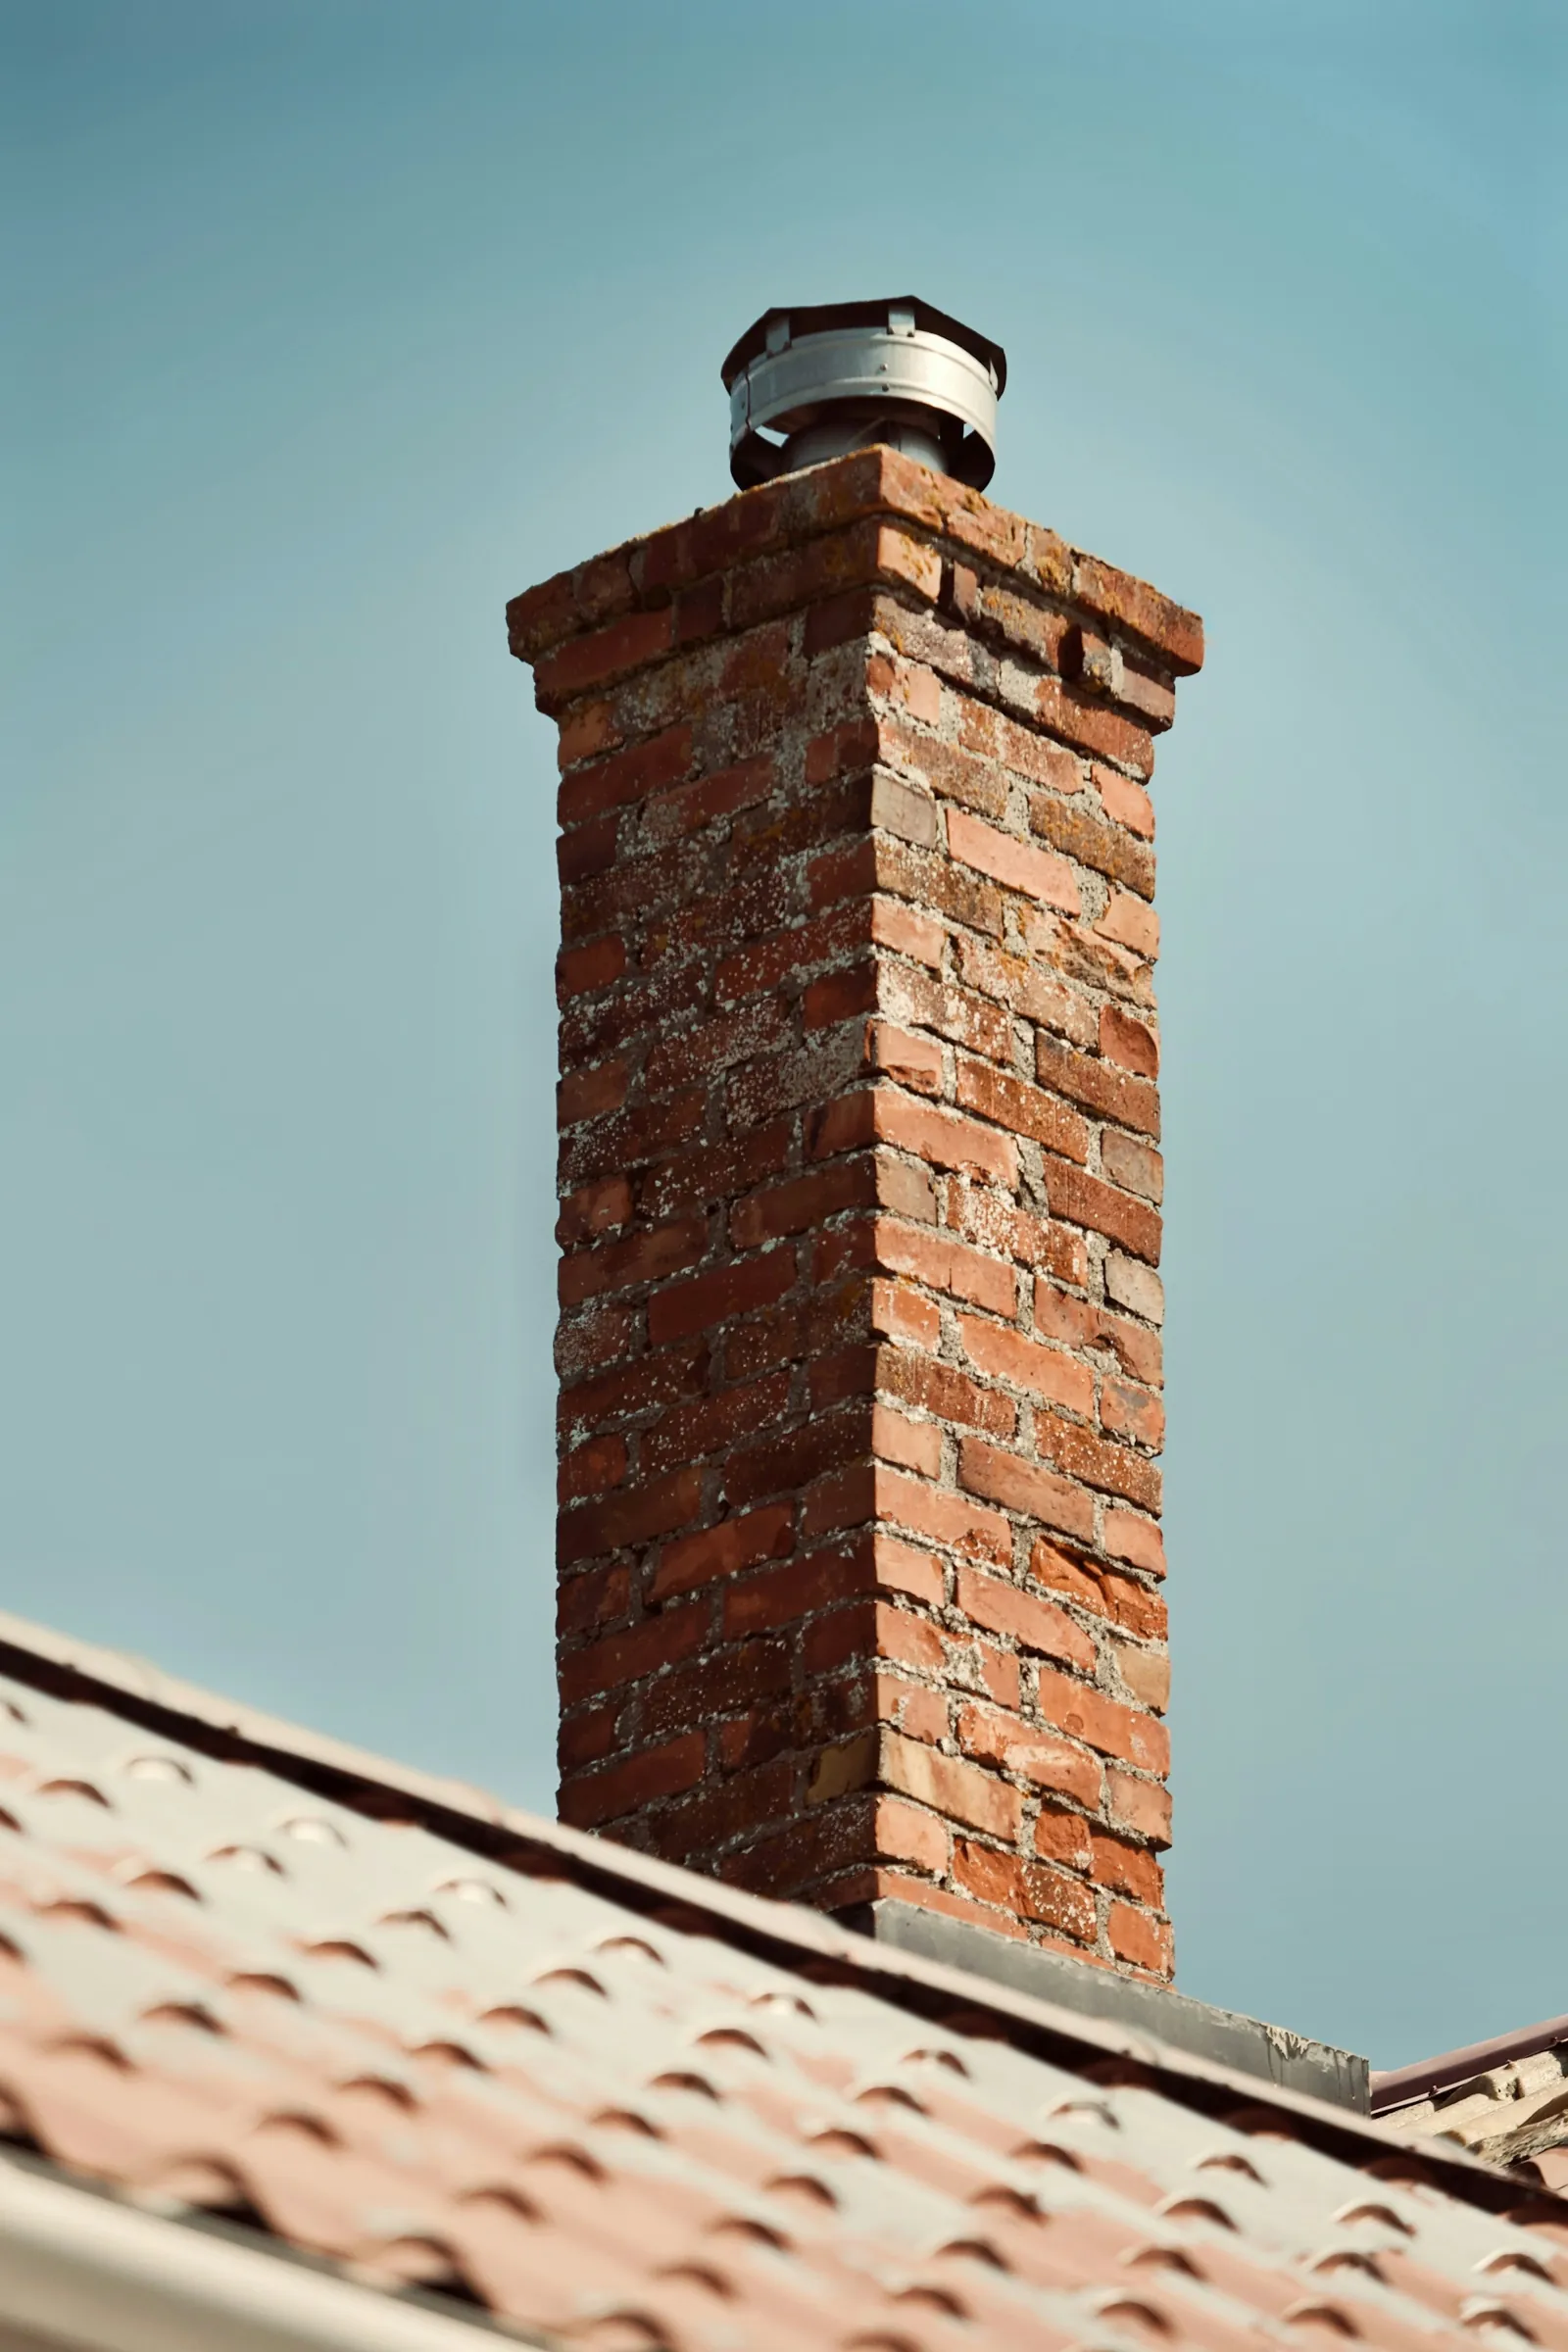

One cover for a stack of flues
Brownstones, rowhouses and many older detached houses carry several flues in one chimney: a parlor fireplace, a bedroom fireplace upstairs, the boiler and sometimes a flue nobody has used in decades. Each flue tile pokes up through the crown, the concrete or mortar slab that caps the masonry. You can fit each tile with its own cap, or cover the entire top with one cap that looks like a small flat roof on legs, screened on all sides.
Because the wide cap covers everything, it also keeps rain and snow off the crown itself. On an older chimney whose crown has hairline cracks and worn edges, that shelter slows further damage, though it does not repair what is already there.
Cap styles compared
The choice is not only one cap or several. How the cover is attached and what it is made from matter just as much, and each style suits a different kind of chimney top.
| Style | How it attaches | Suits | Watch for |
|---|---|---|---|
| Crown-mounted multi-flue cap | Legs or flange fastened into the crown | A flat, sound crown with flues of similar height | Fasteners in a cracked crown work loose |
| Skirted multi-flue cap | A flange wraps down the outside of the chimney and fastens to brick | Uneven or patched crown edges, top courses that need shelter | A skirt hides a failing crown rather than fixing it |
| Individual flue caps | Clamp onto each flue tile | Flues of very different heights or different fuels | Each one is a separate thing to check and replace |
| Liner termination caps | Fit the top of a stainless liner as part of its system | Flues relined for a stove, insert or heating appliance | Should not be swapped for a generic cap |
Fastening and the crown underneath
A crown-mounted cap is screwed or anchored into the crown, so the crown has to be solid enough to hold those fasteners through years of wind. A crown that is cracked through, crumbling at the edges or holding puddles needs repair or rebuilding first, or the cap ends up anchored to something that will not hold it.
A skirted cap spreads its grip around the outside of the chimney, which helps on tops where the crown edge is uneven or the top few courses of brick have been patched. The skirt also sheds water away from those top courses. What it cannot do is stop water already getting in through a cracked crown under the lid, so the crown is checked before any skirt is fitted.
Measuring for a custom cap
Chimney tops vary so much that most multi-flue caps are built to order. A cap built a little short ends up resting on a flue tile or blocking an outlet; one built too low under the lid can choke the draft of the busiest flue. These are the measurements a fabricator needs:
- Outside length and width of the crown or the brick top
- Height of each flue tile above the crown, especially the tallest
- Clearance needed above the tallest flue so exhaust is not restricted
- Where the brick edge sits, for a skirt, and how far down it should reach
- Location of any liner termination that must stay outside the cover
Screen, height and materials
The screen around the sides has to stop birds and squirrels without clogging. On a chimney with an oil boiler flue, soot can coat a fine screen, so the mesh is chosen for the dirtiest flue under the lid. The lid also has to sit high enough above the tallest tile that exhaust leaves freely in every direction.
Stainless steel is the usual material because it resists the corrosive exhaust from heating flues. Copper is chosen where a chimney faces the street and appearance matters, and painted finishes are available on some caps. In historic districts, changes visible from the street can fall under review rules, so check with your town before ordering a cap for a landmarked house.
Signs an existing multi-flue cap needs attention
Wide caps catch a lot of wind, and the lid is a big flat surface for leaves, snow and soot. Over time the fasteners loosen, the screen tears or clogs, and the lid can sag toward the tallest flue. Several of the warning signs can be spotted from the sidewalk or the yard, and others show up inside the house.
- The lid looks tilted, lifted at one corner or dented after a storm
- Rust streaks running down the brick below the skirt or legs
- Smoke smell in a fireplace you are not using while the boiler runs
- Birds or squirrels going in and out under the lid
- Soot crust visible on the screen above the boiler flue
What to expect if you go this route
The work usually begins with a look at the crown and each flue, noting what each one serves and what condition it is in. If the crown needs repair, that is planned first. Measurements are taken on the same visit, the cap is fabricated, and it is installed on a second visit, fastened and checked so each flue drafts cleanly beneath it.
If an existing cap is being replaced, the old one comes off first so the crown and flue tiles underneath can be seen; years under a lid can hide cracks and loose tiles that need attention before the new cover goes on.
The cap, any crown work it needs first and the fastening method are laid out in a free written estimate ahead of fabrication, so you know what you are buying and why.
Common Questions
Is a multi-flue chimney cover the same as a cap?
Do I need a cap with a skirt?
Can a custom multi-flue cap fit an old chimney?
Will a multi-flue cap stop downdraft?
Can one flue keep its own cap under a multi-flue cover?
Need help with this? See our caps & crowns service, or call (844) 468-2410 for a free written estimate.